How to edit black dogs vs white dogs
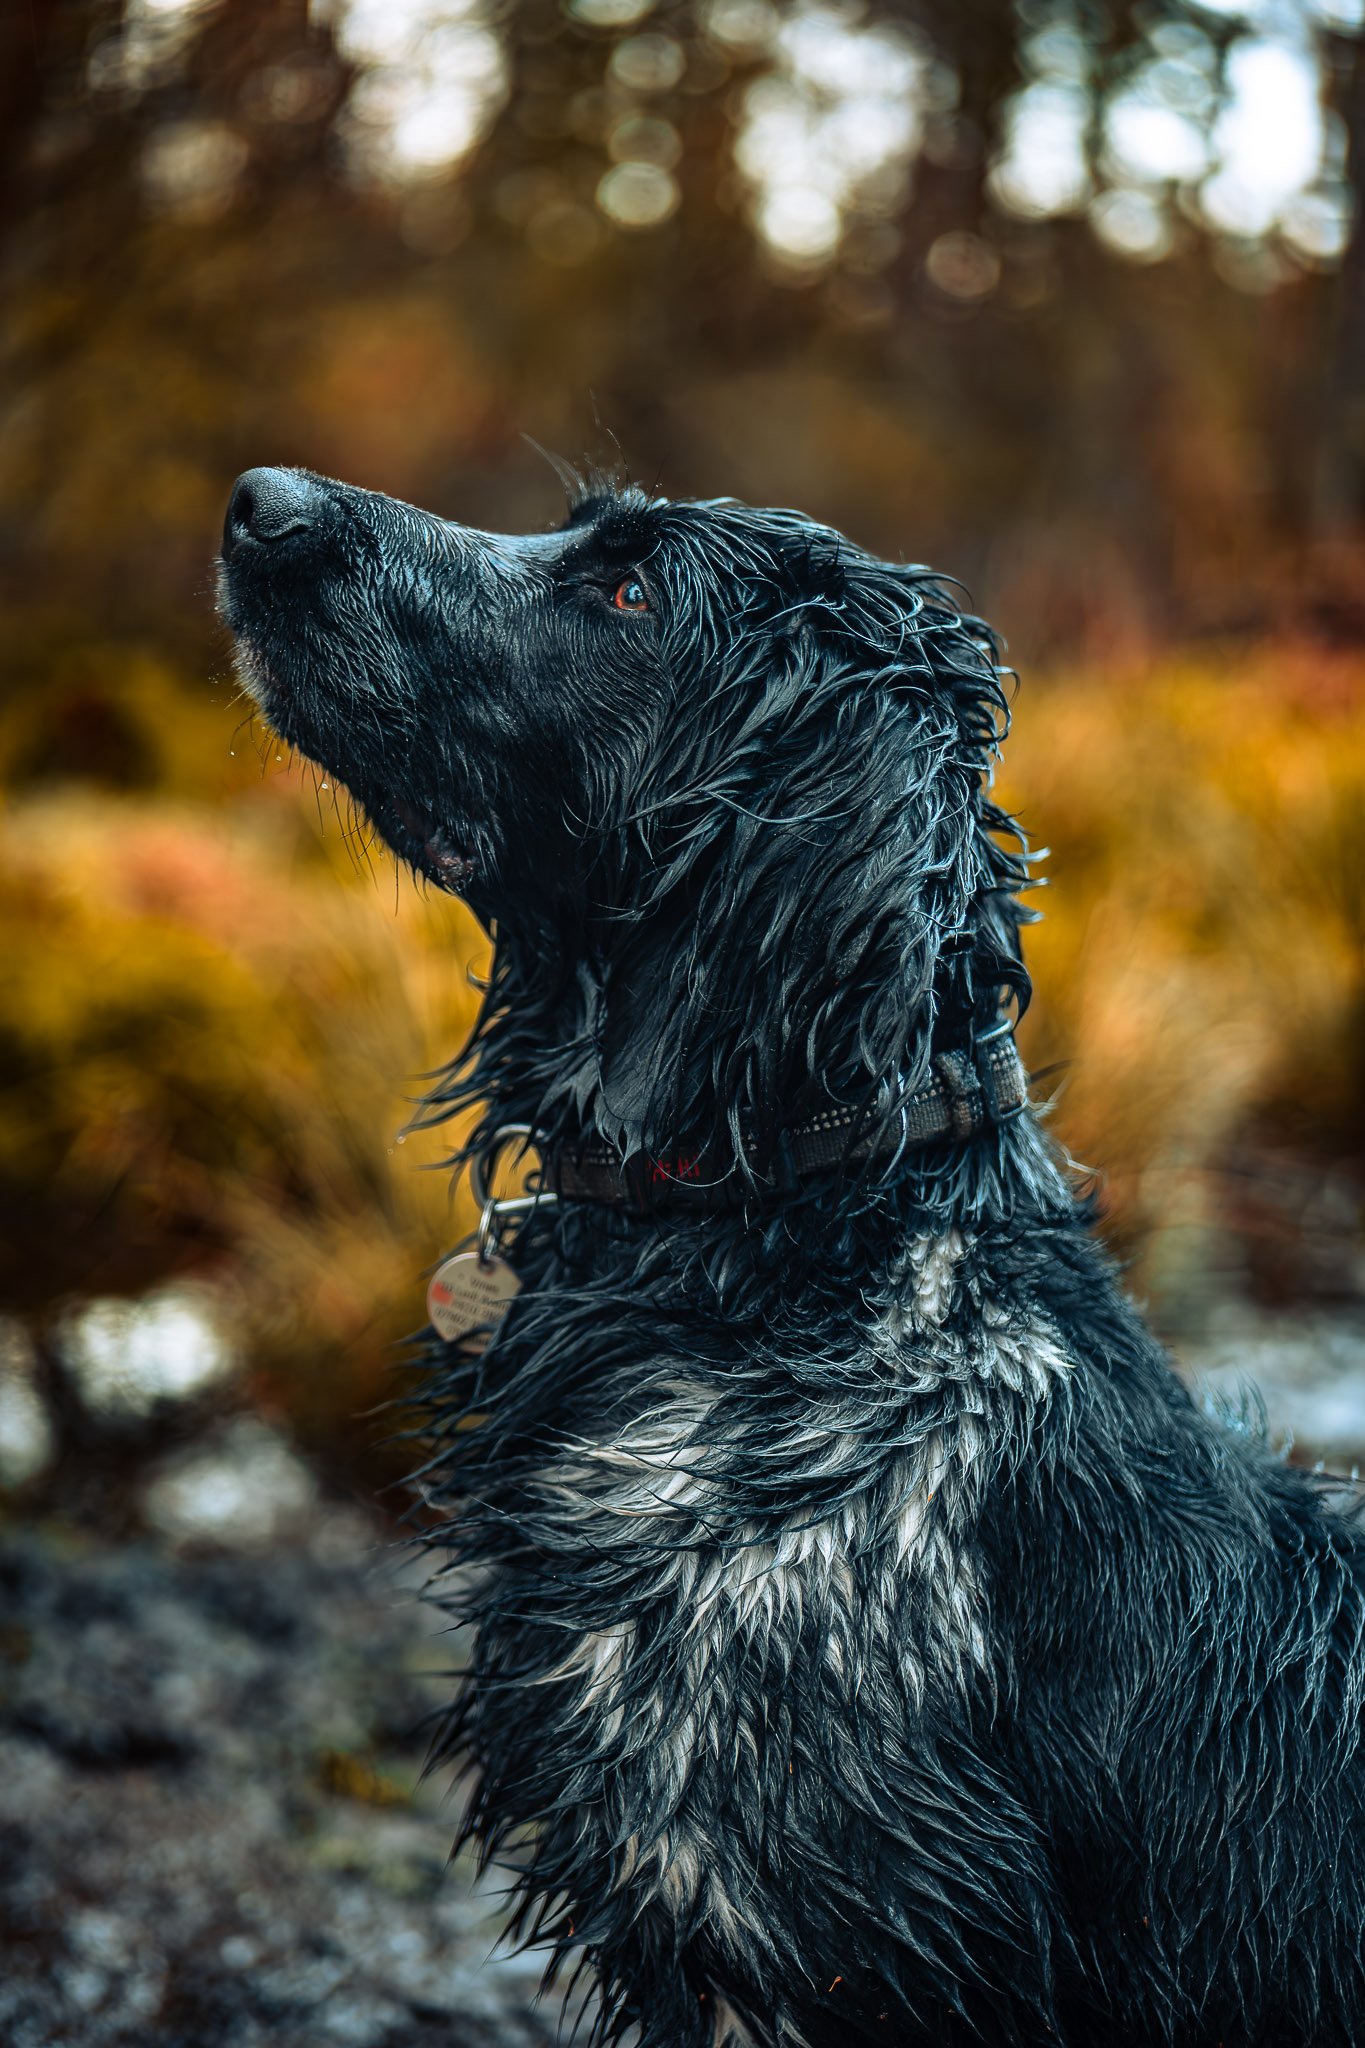
A large Munsterlander portrait
Black and white dogs are the two hardest coats to edit because their fur easily loses detail. The goal is opposite for each:
Black dogs → recover shadow detail
White dogs → protect highlights
These techniques work well in Adobe Lightroom, Adobe Photoshop, and apps like Adobe Lightroom Mobile.
Editing Black Dogs 🐕⬛
1. Lift Shadows Carefully
Black fur often turns into a flat dark shape.
Adjust:
Shadows +30 to +50
Blacks +5 to +15
Exposure +0.2 to +0.4
This brings back fur separation and detail.
2. Add Texture Instead of Brightness
Brightening too much turns the dog grey.
Better approach
Texture +20
Clarity +10
This restores definition in the fur without ruining color.
3. Use Local Masking
Mask just the dog.
Increase:
Shadows
Texture
Leave the background darker so the dog still pops.
4. Watch Color Casts
Black fur easily picks up color reflections from grass or sky.
Fix in HSL:
Reduce green saturation
Reduce blue saturation slightly
5. Brighten Eyes More Than Usual 👀
Black dogs often have very dark eyes.
Try:
Exposure +0.3
Whites +10
Sharpness +20
This makes the face readable.
Editing White Dogs 🐕
1. Recover Highlights
White fur clips easily and loses detail.
Adjust:
Highlights –40 to –60
Whites –20 to –30
This restores fur texture in bright areas.
2. Add Texture Carefully
White coats need texture to avoid looking blown out.
Try:
Texture +15
Clarity +5
Avoid too much clarity or fur looks dirty.
3. Correct White Balance
White fur reveals color casts immediately.
Common issues:
Blue tint from shade
Yellow tint from sunlight
Fix with temperature + tint adjustments.
4. Avoid Overexposure
Many photographers brighten the whole photo too much.
Better approach:
Lower exposure slightly
Lift shadows instead
5. Control Background Brightness
If the background is bright, the dog blends in.
Fix:
Lower background exposure –0.3
Add slight vignette
Quick Comparison
Coat Type
Biggest Problem
Main Fix
Black dogs
No shadow detail
Raise shadows + texture
White dogs
Blown highlights
Lower highlights + whites
💡 Professional trick:
For both coats, use subject masking in Adobe Lightroom so the adjustments affect the dog but not the background.